This guide helps users easily create and manage courses step by step. It covers everything from adding details to organizing lessons and making course creation simple and efficient. Whether you're experienced or new to course design, this resource streamlines the process.
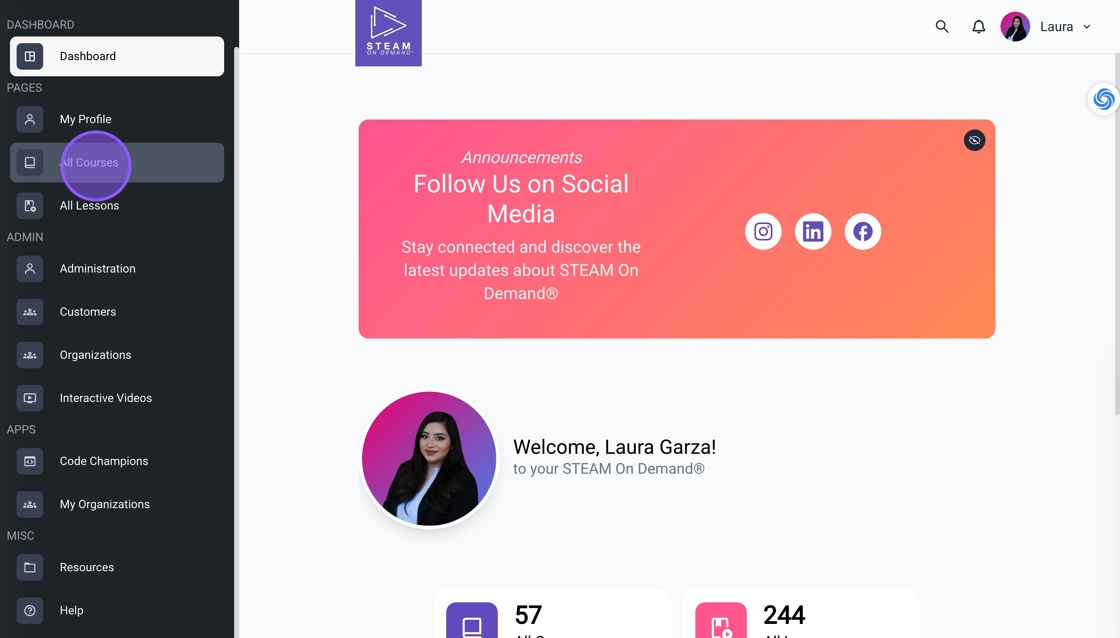
1. Click "All Courses" from the dashboard.
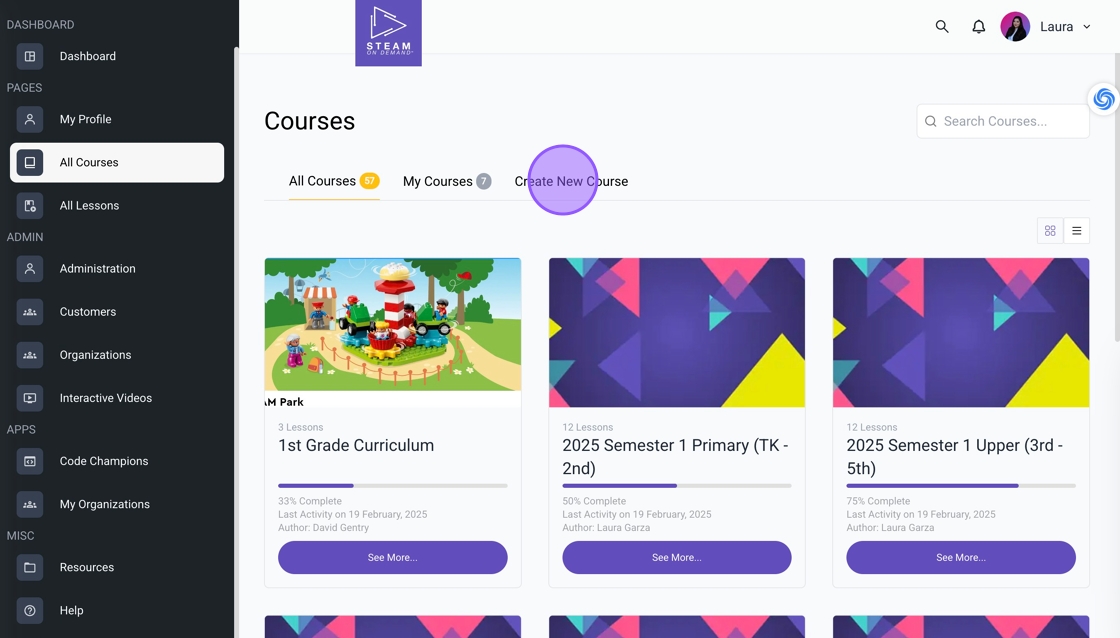
2. Click "Create New Course".
3. Add a title to your course.
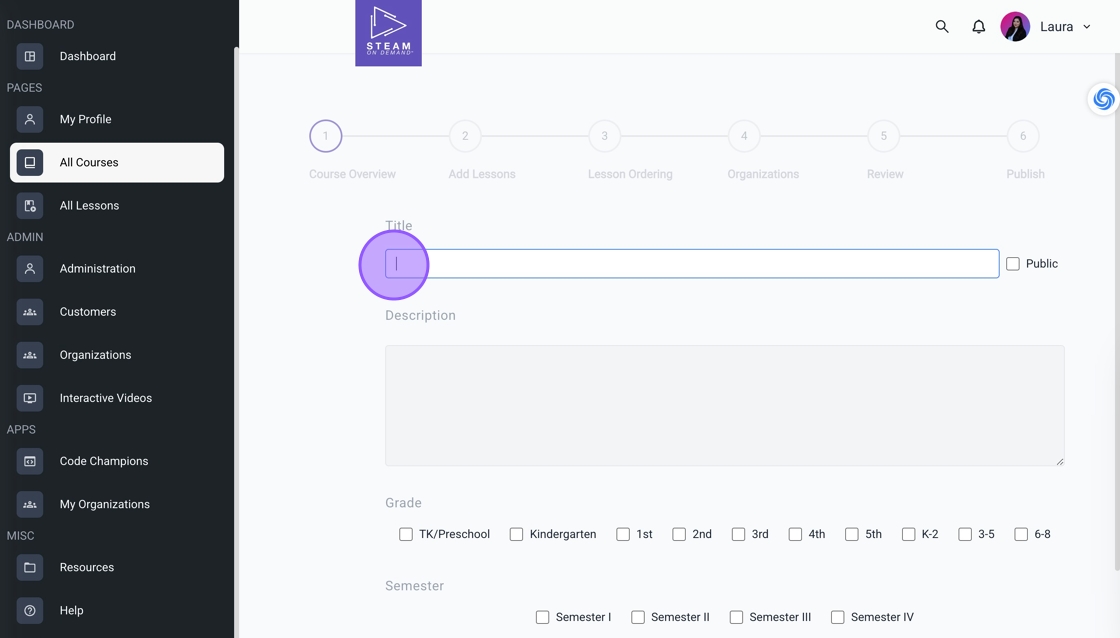
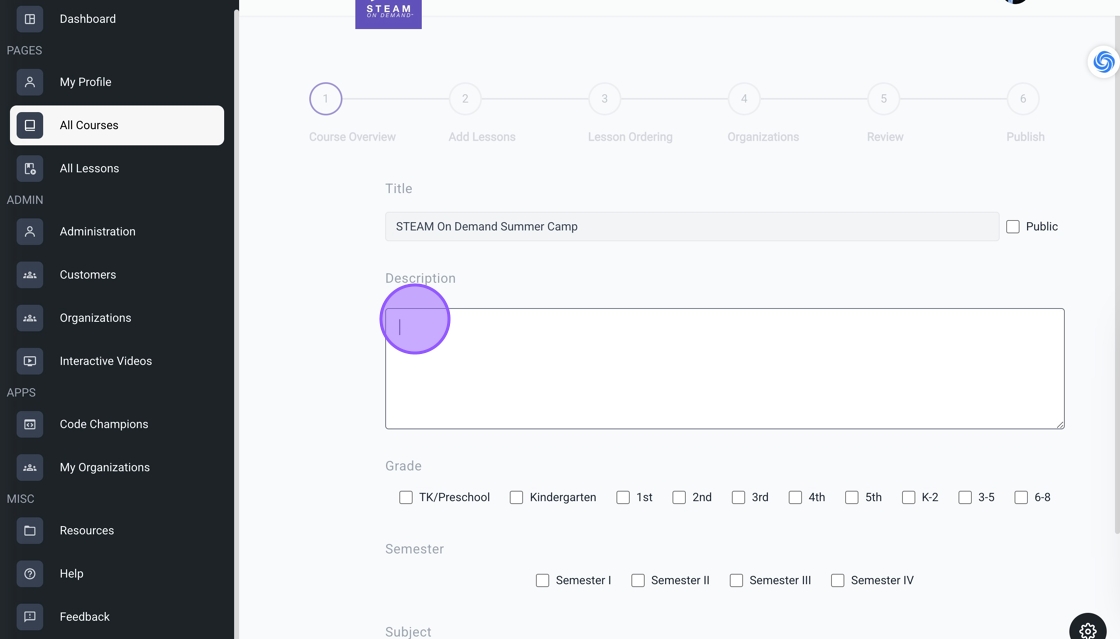
4. Provide a description.
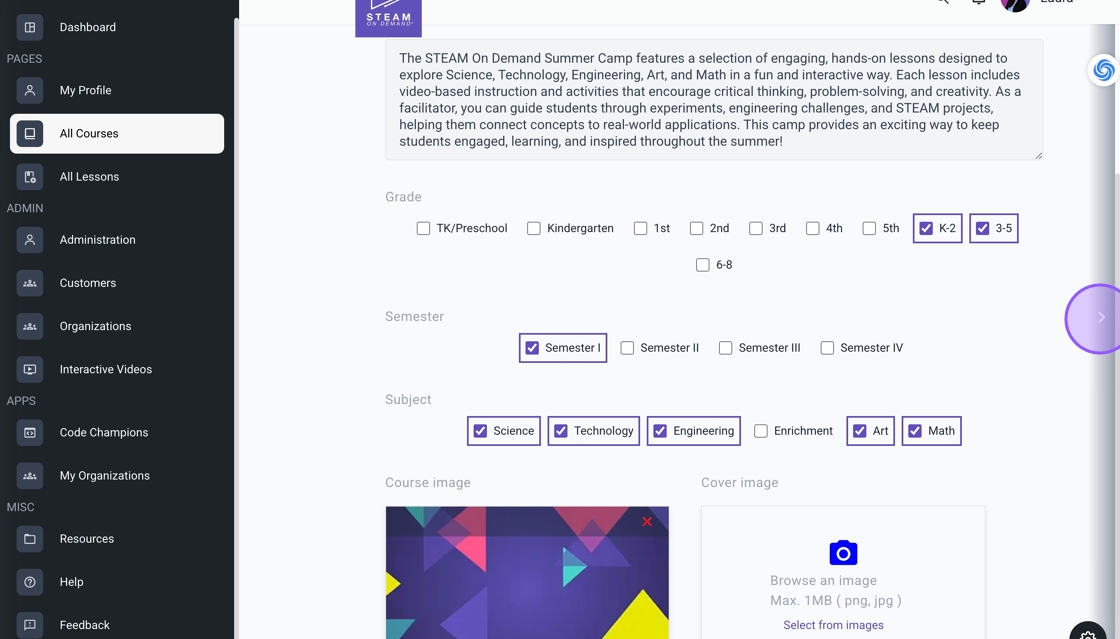
5. Select your grades.
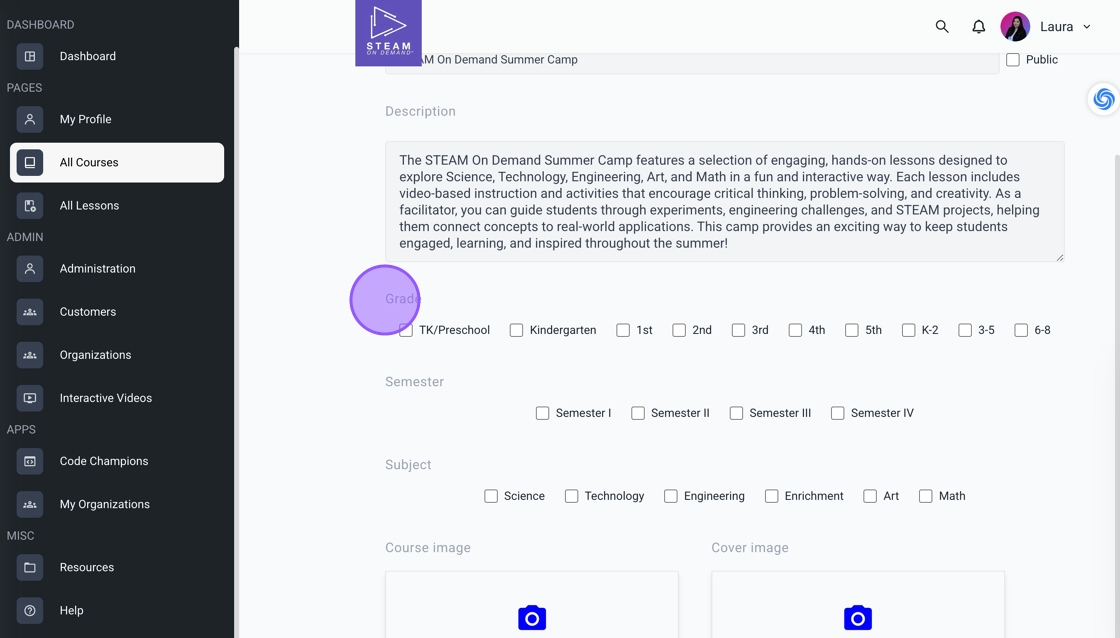
6. Identify a semester, if needed.
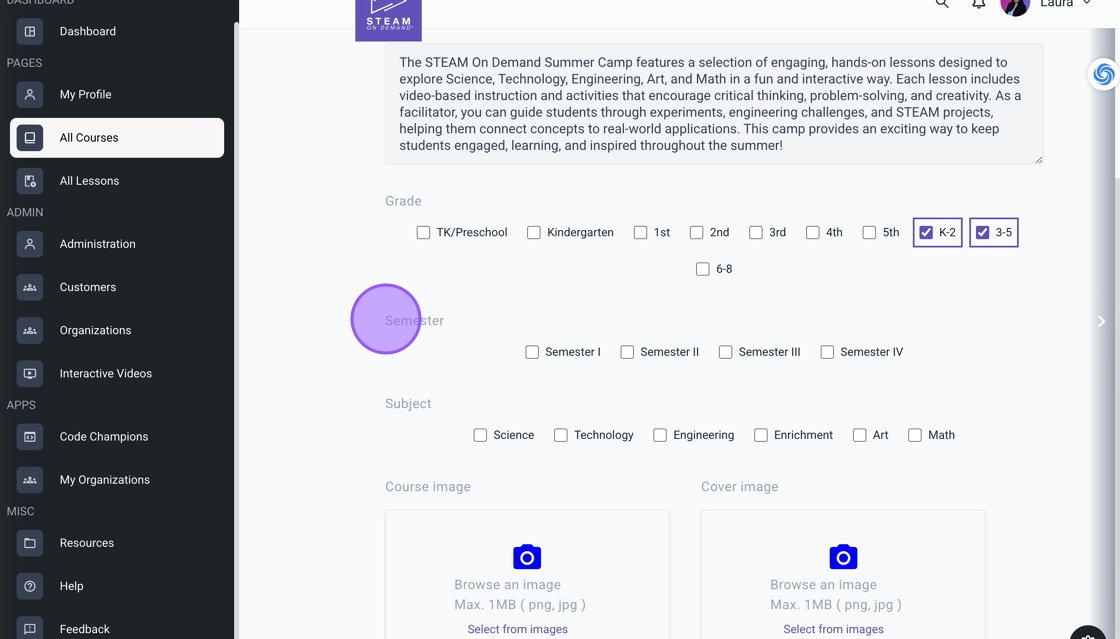
7. Select your subjects.
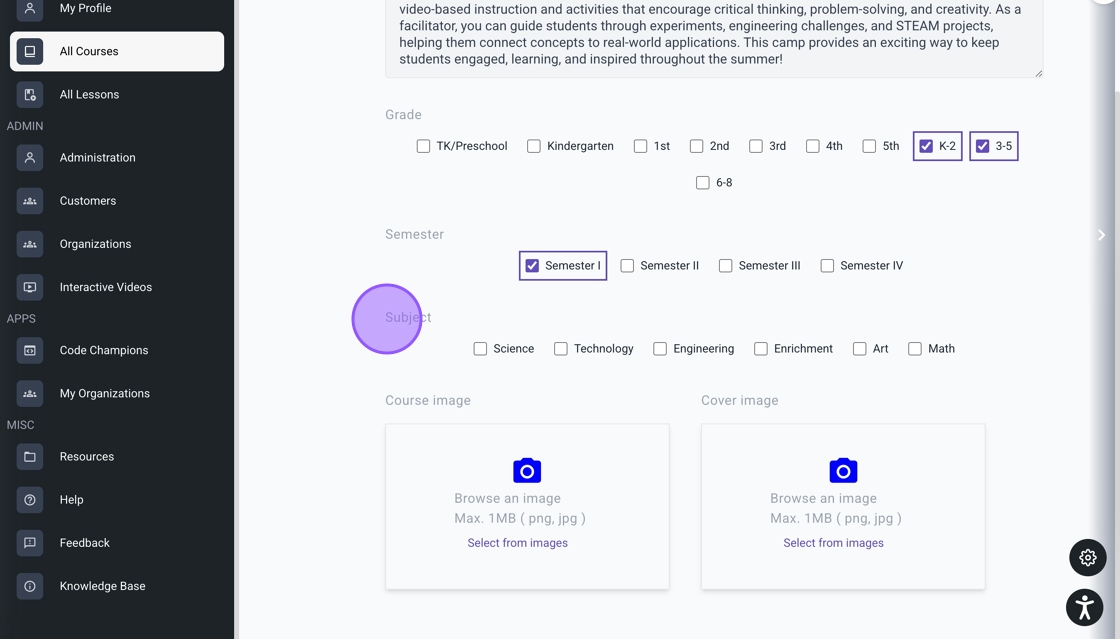
8. Upload an image for your course, then click the arrow to move to the next step.
9. Click the "Search for a lesson" field to locate your lessons.
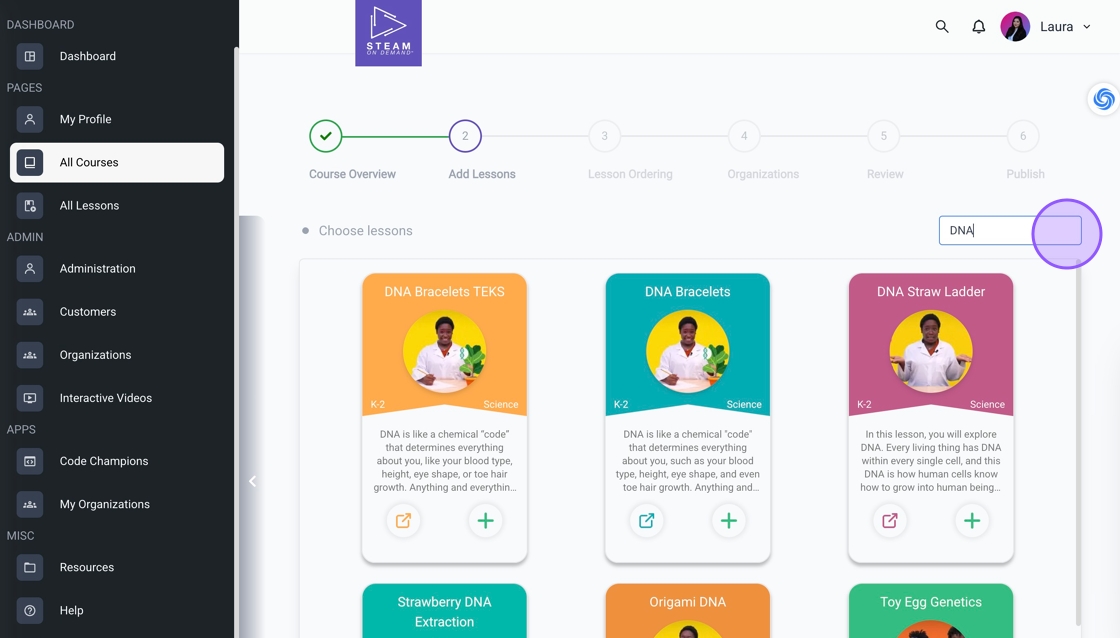
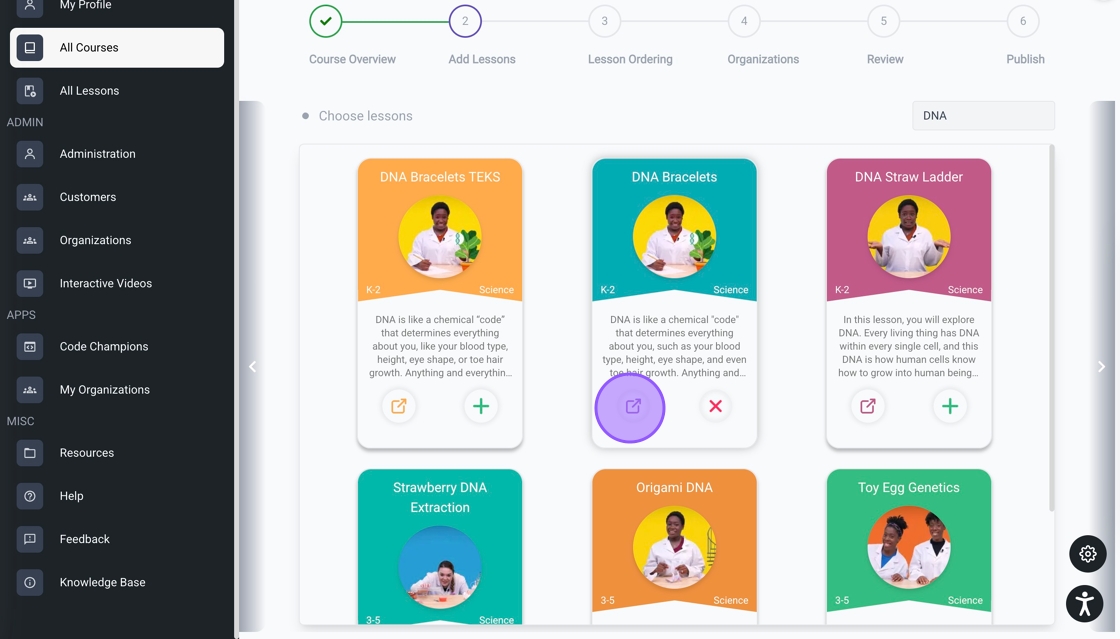
10. Click the "+" icon to add to the course.
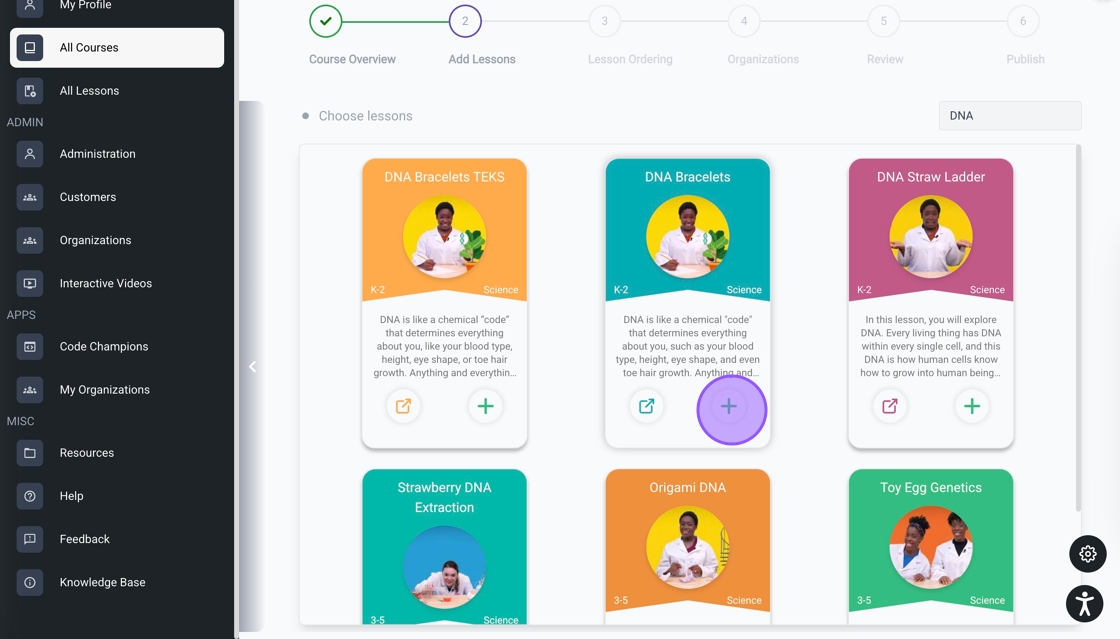
11. Click the open icon to view the lesson in a new tab. After adding your lessons, click the arrow to continue to the next step.
12. Click "Add Label" to categorize your lessons by grade, subject, or other criteria.
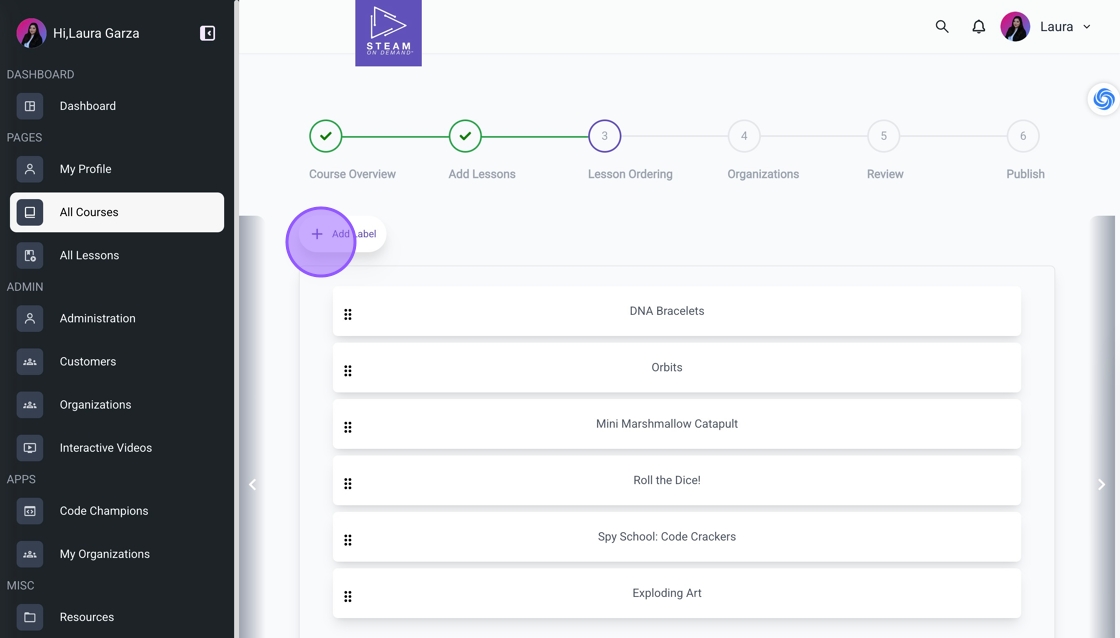
13. Add text to the label.
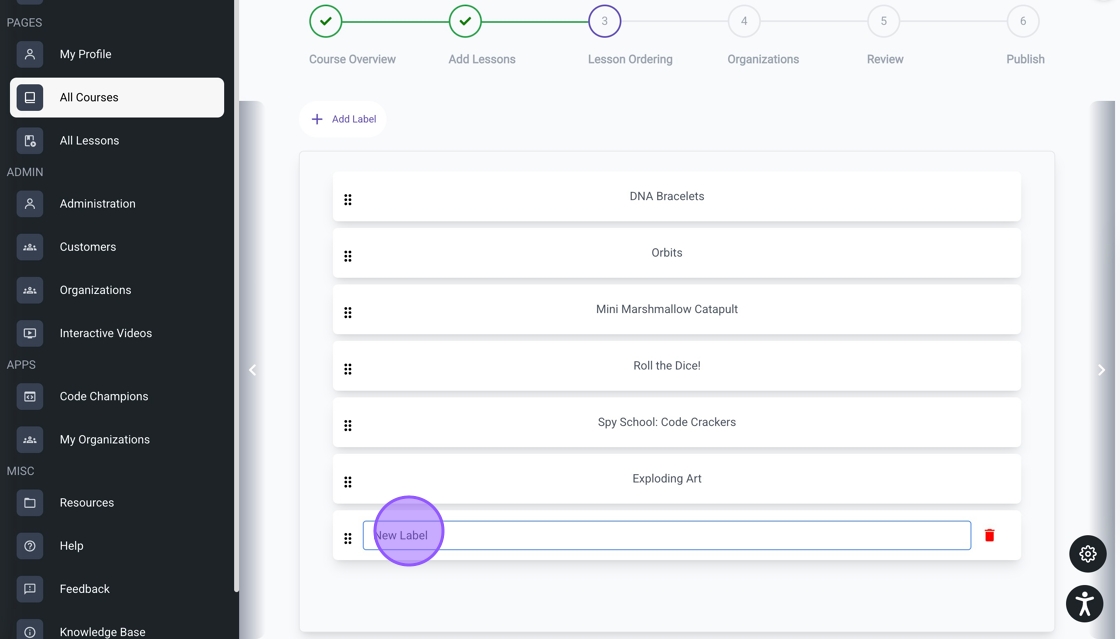
14. Drag the label to its designated spot and arrange the lessons in your preferred order. Click the arrow to finalize this step.

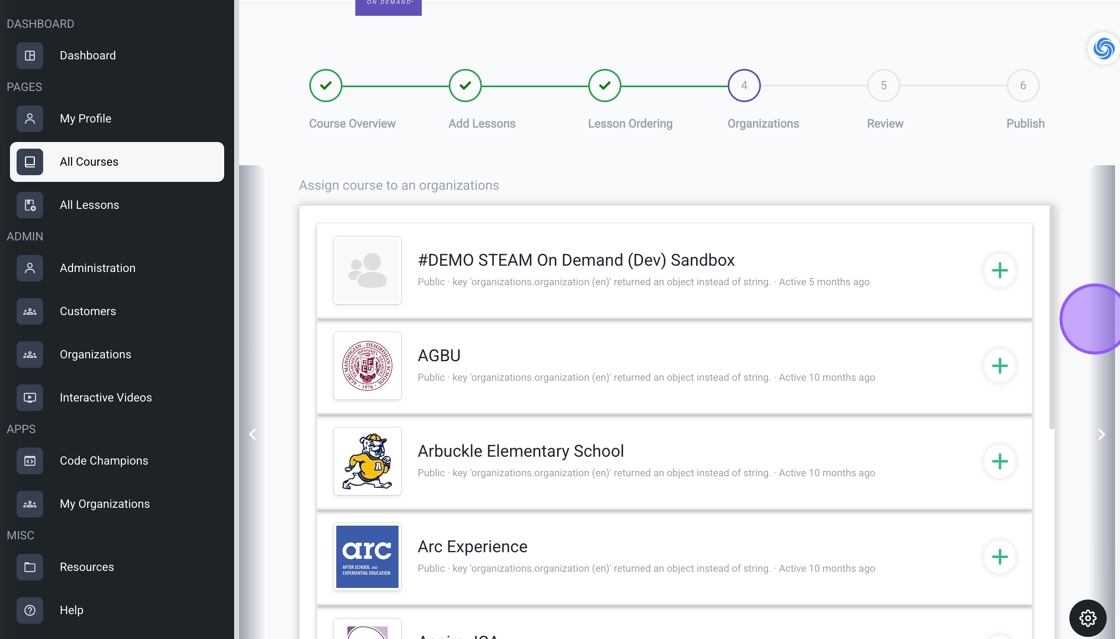
15. Assign the course to your organization if necessary, then click the arrow to continue.
16. Review the course. Click the arrow to publish.

17. Published.

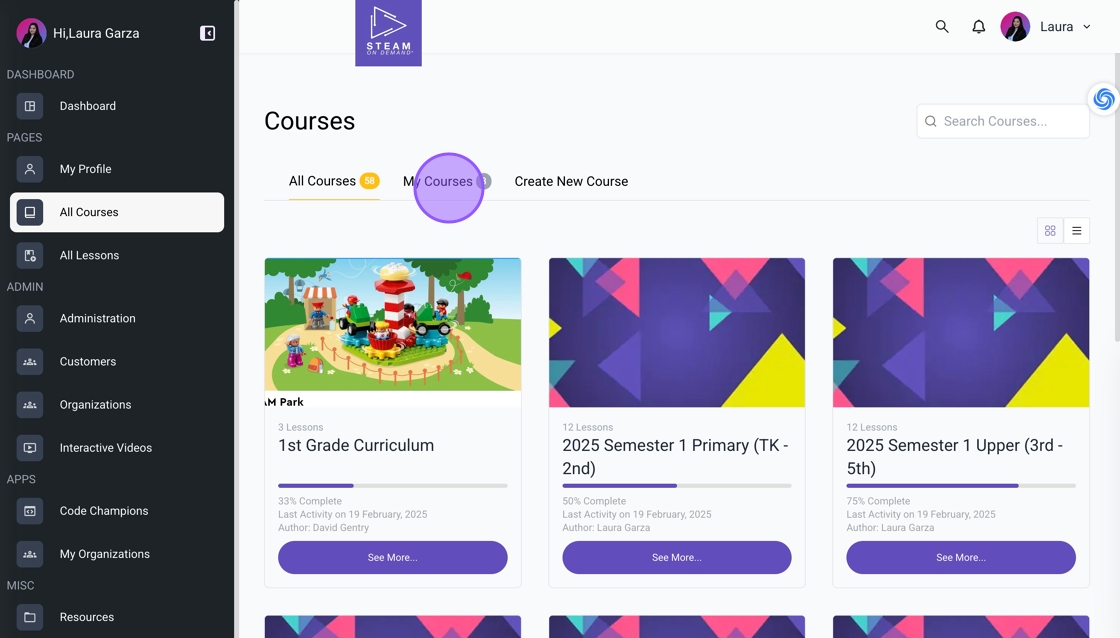
18. To edit the course, go to All Courses, then select the My Courses tab.
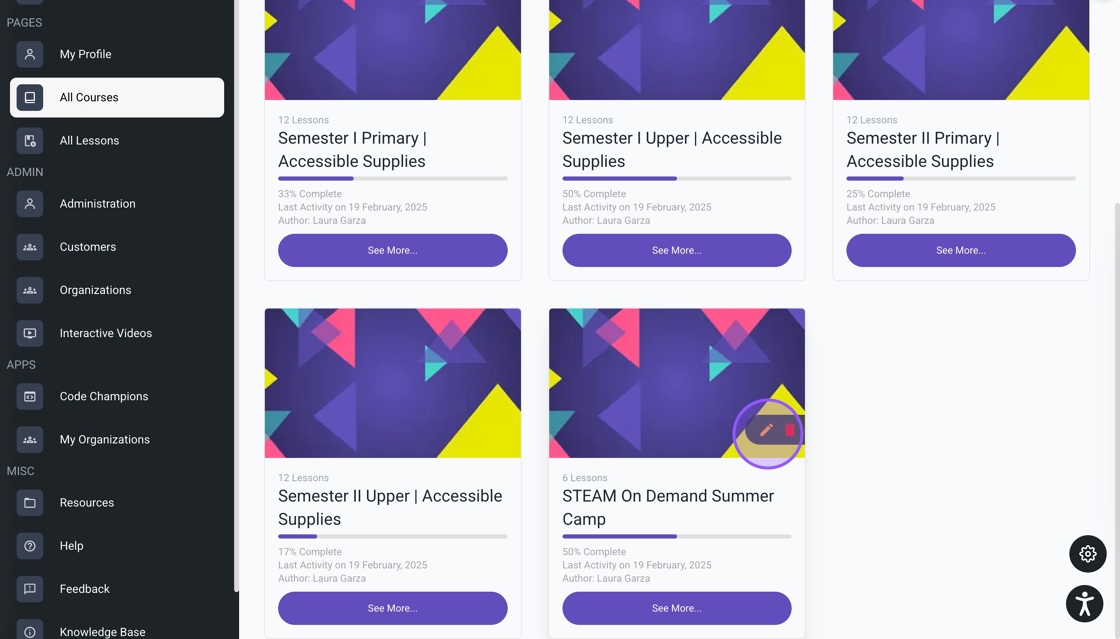
19. Locate the course, then click the pencil icon to edit or the trash icon to delete it.
Was this article helpful?
That’s Great!
Thank you for your feedback
Sorry! We couldn't be helpful
Thank you for your feedback
Feedback sent
We appreciate your effort and will try to fix the article